|
|
Post by bbh on Jul 12, 2017 8:54:45 GMT
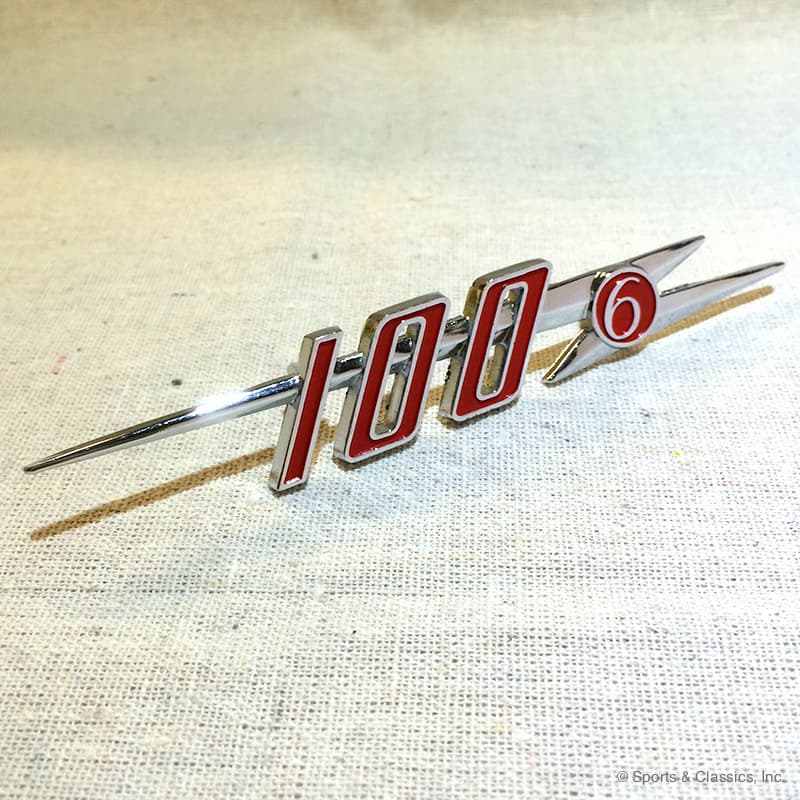
Australian Matthew Randell created a video blog of his 100/6 restoration and over 58 "episodes" followed his progress on YouTube. Interesting to follow. Episode 1 is here ....
|
|
|
|
Post by bbh on Jul 13, 2017 8:42:02 GMT
.... and as a guide to the full series .....
Part 1
“Before” video. Inspection and starting to take apart.
5 minutes, 47 seconds.
Part 2
Review of chassis to determine work to be done.
Chassis up on a rotisserie and stripping the chassis.
5 minutes, 2 seconds.
Part 3
New Panels, repair and replacement of damaged frame/chassis pieces. Getting ready to paint.
7 minutes, 11 seconds.
Part 4
Shell painted and installation of insulation, wiring, heater, rear end, firewall components, boot floor, front suspension, etc.
7 minutes, 15 seconds.
Part 5
Rebuilding the gearbox and overdrive
7 minutes, 39 seconds.
Part 6
Rebuilding the engine. Disassembled inspection. Front end finished. Heater ducts installed. Gear box painted.
7 minutes, 18 seconds.
Part 7
Rebuilding the engine, continued. Pistons, rods, crankshaft cam shaft installation. Timing chain installed. Engine painted. Distributor installed.
10 minutes, 29 seconds.
Part 8
Completing the engine work, finishing the head, block in, head installed, carbs, starter motor and generator installed.
10 minutes, 45 seconds.
Part 9
Front and rear shroud work. Stripping the car with paint stripper and knocking out dents.
14 minutes, 0 seconds.
Part 10
Continuing with the shrouds. After stripping they are put back on the car to make sure that everything lines up properly before painting.
4 minutes, 28 seconds.
Part 11
Front and rear shrouds primer coat.
7 minutes, 8 seconds.
Part 12
Finish painting the Shrouds. Attach accelerator linkage and heater pipes and other miscellaneous engine bay components.
10 minutes, 31 seconds.
Part 13
Fitting the grill on the front shroud and fitting the rear shroud. Home made tool for fitting solid rivets instead of pop rivets.
7 minutes, 2 seconds.
Part 14
Final fitting of the front shrouds. Installation of brake lines and master cylinder. Brackets for the intake manifold drain pipes. Adjustment of engine mounts. Exhaust system installed.
9 minutes, 47 seconds.
Part 15
Inspection and repair of the bonnet and boot lid. Attempted repair of a temperature gauge.
14 minutes, 4 seconds.
Part 16
Attempted repair of a temperature gauge continued unsuccessfully and sent out to professionals for repair.
Radiator re-cored by professionals. Bonnet and boot lid primer coat. Radiator painted. Fan installed. Repair of the rear mudguard (fender) doglegs.
11 minutes, 43 seconds.
Part 17
Door check straps and gear box cover repair.
11 minutes, 36 seconds.
Part 18
Making a rear axle hub nut socket and small progress. Repair of firewall transmission tunnel housing. Valve gaps set per specifications. Plug wires installed. Radiator and top water hose installed. Fuel pump installed. Rubber “bumpers” on shroud for bonnet lid installed. Fuel lines installed.
8 minutes, 31 seconds.
Part 19
Progress on the Healey body. Bonnet fitted and badges, etc. installed. Handbrake and linkage to the rear installed.
Boot lid and badge installed. Windscreen washer nozzles installed.
12 minutes, 41 seconds.
Part 20
Repair work on the front Guards (Fenders or Wings to those not from OZ.)
10 minutes, 51 seconds.
Part 21
Work begins on the doors.
13 minutes, 55 seconds.
Part 22
The work continues on the doors.
12 minutes, 34 seconds.
Part 23
More work on the doors. Starting to work on the dash.
9 minutes, 17 seconds.
Part 24
Re-covering the dash pad top. Covering the dash itself.
8 minutes, 6 seconds.
Part 25
Re-covering the dash panel, continued with the start of the installation of dash components.
9 minutes, 20 seconds.
Part 26
Instruments installed in dash and the dash and dash top installed. Installation of bottom radiator hose. Testing electrical components and the running of
the engine.
12 minutes, 17 seconds.
Part 27
Problems with the head.
4 minutes, 29 seconds.
Part 28
A fix on the engine
6 minutes, 5 seconds.
Part 29
Front and rear wings (mudguards, fenders) and doors fitted to the body to check their fit prior to painting. Fiddling with the Overdrive settings.
9 minutes, 47 seconds.
Part 30
Progress on the Body. Wings and doors primed and trial fitted again.
4 minutes, 32 seconds.
Part 31
A discussion about interior trim panels.
10 minutes, 17 seconds.
Part 32
Fabricating interior trim panels.
9 minutes, 32 seconds.
Part 33
Yet more discussion on door panels and a little drink
4 minutes, 59 seconds.
Part 34
Feeling particularly pleased. Installation of floor insulation. Gear box surround painted. Interior trim pieces, except for door panels installed. Transmission cover installed. Parcel tray covered and installed. Fabrication of seat pans.
A discussion on step bits.
12 minutes, 45 seconds.
Part 35
Bits of progress. Seat pans painted. Seat runners installed. Boot lining installed.
9 minutes, 44 seconds.
Part 36
Transmission tunnel, carpet arrives and laid out for a trial fit. Steering wheel repair.
12 minutes, 27 seconds.
Part 37
Starting to fit the carpet. Transmission tunnel firewall piece. Jump seats. Rear carpeting finished. Battery cut-off switch installed.
11 minutes, 6 seconds.
Part 38
Steering wheel repairs, continued. Carpeting the transmission tunnel and installing the carpet snaps. Front cockpit carpeting installed.
14 minutes, 22 seconds.
Part 39
Body panels and doors painted. Fender beading repaired and installed.
5 minutes, 33 seconds.
Part 40
Fitting the front guards (fenders – wings)
6 minutes, 10 seconds.
Part 41
Progress on the doors and rear guard
6 minutes, 50 seconds.
Part 42
Fitting doors and adjusting the curvature of the panels to match. Door latches, striker plates and hardware installed. Body trim for door openings installed.
10 minutes, 6 seconds.
Part 43
A discussion on Overdrives. Fabrication of an accumulator housing removal tool.
7 minutes, 21 seconds.
Part 44
Fitting a scuttle seal.
6 minutes 4 seconds.
Part 45
Odds and ends to finish the job. Dismantling and replating the windscreen frame. Cockpit surrounds refinished and installed. More work on the steering wheel. Back seat
schwab fabricated. Internal door panels fitted. Miscellaneous electronics checked out. Windscreen stanchions painted.
Windscreen ready to be fitted to frame.
10 minutes, 36 seconds.
Part 46
This part covers the installation of the windscreen glass into its frame, installing it onto the stanchions and securing the assembly to the body.
14 minutes, 46 seconds.
Part 47
First drive! But, brake problems to be diagnosed and fixed.
3 minutes, 56 seconds.
Part 48
Starting to recover the seats.
8 minutes, 1 second.
Part 49
Recovering the seats, continued.
14 minutes, 9 seconds.
Part 50
Rear seat Schwab
10 minutes, 6 seconds.
Part 51
Truing a wheel.
7 minutes 48 seconds.
Part 52
Trimming the rear seat back and driving to a new garage.
13 minutes 4 seconds.
Part 53
Trimming the rear seat pans.
9 minutes 35 seconds.
Part 54
Adjusting the toe-in. Home made tool to do it.
5 minutes 35 seconds.
Part 55
A brief discussion on overdrive and brake issues to be solved.
5 minutes 29 seconds,
Part 56
A discussion on Tonneau covers.
7 minutes 22 seconds.
Part 57
A discussion on the installation of an electrical-mechanical brake light switch mounted on the brake pedal. Front and rear bumpers as well as splash apron fitted. New side screens.
8 minutes 2 seconds.
Part 58
First drive! Checking out all systems.
13 minutes 31 seconds.
|
|
bn6
Junior Member
 Once a BT-7 Owner, now a BN6 100/6 Owner
Posts: 89 
|
Post by bn6 on Aug 8, 2017 15:52:42 GMT
This was a great set of informative videos that I watched a while ago, its rather sad to know that Matthew won't be posting anymore on YouTube.
|
|
|
|
Post by bbh on Aug 8, 2017 19:30:21 GMT
He did do a great job and wasn't afraid to get stuck in. It must have taken him a fair bit of time to film and edit all those videos.
Helpful now just to dip into for a particular job.
|
|